Ingredients
- 115g (about 1 cup) whole-grain rye flour, whole-grain wheat flour, or a combination of the two
- 115g (about ½ cup) tepid water
- 115g (about 1 cup) unbleached all-purpose flour
- 115g (about ½ cup) tepid water
For Day 1, the sourdough starter base
For feeding the starter on subsequent days
Sourdough. Whether the word inspires visions of crusty boules or bubbling starter, one thing’s certain: nearly everyone who loves bread has heard the distant call of sourdough. If you haven’t yet heeded the call, then now is the time. Let’s go.
Sourdough Starter
Your sourdough baking adventure begins right here, in your kitchen with this recipe for homemade starter. It’s one we’ve had success with and we’re confident you will too.
Instructions
Day 1
Step 1
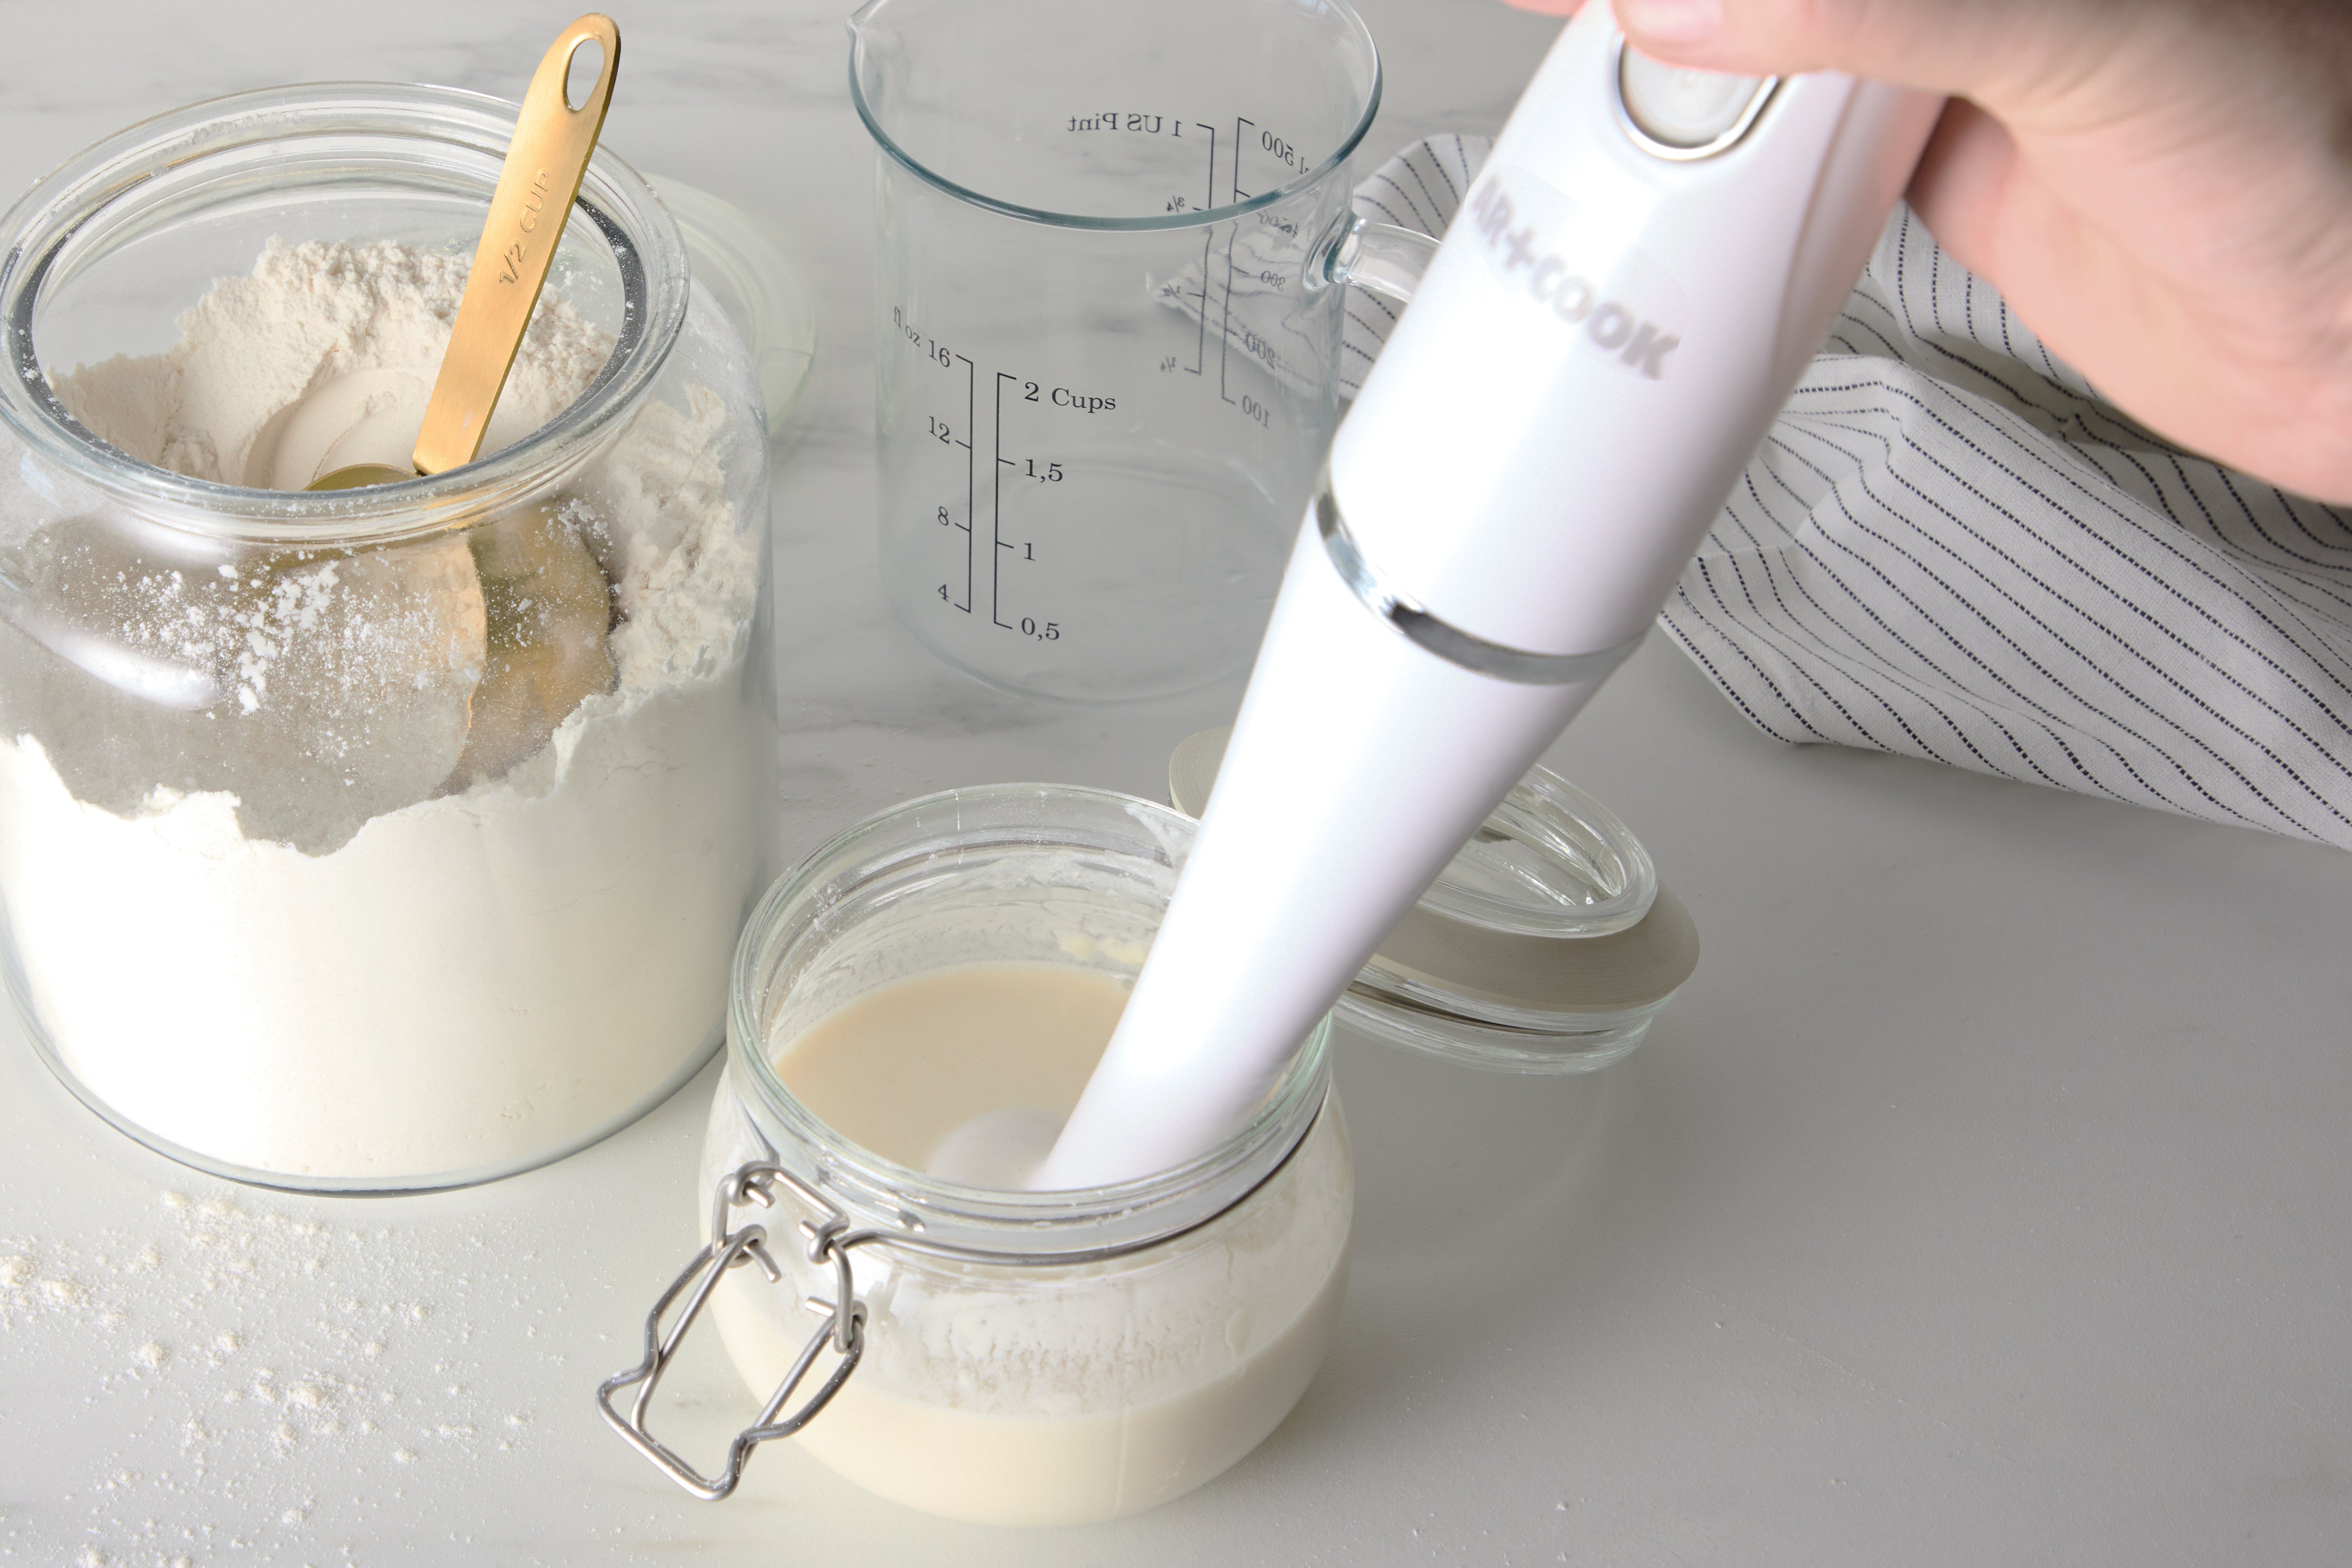
Combine the flour with the tepid water in a large, at least 1-qt capacity, non-reactive container. Glass, ceramic, stainless steel, or food-grade plastic are all fine; just make sure the container is large enough to hold your starter as it grows.
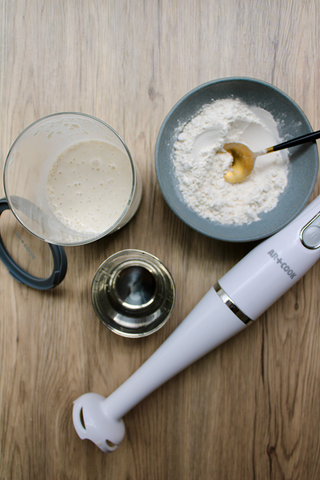
Step 2
Use an immersion blender to mix everything together very thoroughly. Cover the container loosely and let the mixture sit at warm room temperature (about 70°F) for 24 hours. It’s a good idea, now, to mark the level of the starter on the outside of the container so you can monitor how much the starter rises in the container over the coming days.
Day 2
You might not notice any activity in the starter after 24 hours. Or perhaps you’ll see some bubbling or growth. Regardless, remove half the starter (115g, about ½ cup) and discard. Now, feed the remaining starter in the container 115g (about 1 cup) unbleached all-purpose flour and 115g (about 1 cup) tepid water. Use your immersion blender, a whisk, or a mixing spoon to stir the mixture thoroughly. Cover and let rest at room temperature 24 hours.
Day 3
By now, you’ll likely notice bubbles, growth, and a sweet fruity aroma. Today, feed the starter twice, as close to 12 hours apart as you can manage. For each feeding, weigh out 115g starter and save. Discard the rest. Return the reserved starter to its container. Add 115g unbleached all-purpose flour and 115g tepid water. Mix well; cover; and let rest at room temperature for about 12 hours; then, repeat the process exactly.
Day 4
Weigh out and reserve 115g starter. Discard the rest. Repeat the feeding process, two times about 12 hours apart, exactly as you did on Day 3.
Day 5
In the morning weigh out and reserve 115g starter, discarding all the rest. Feed exactly as you did on Day 4. (If you don’t remember, follow the instructions described in Day 3, above.) By the end of Day 5, the starter should be doubled in volume and full of big and small bubbles. It will likely smell pleasantly sour. If this is what your starter is like, then it is ready. (If your starter isn’t showing these changes yet, see the tip below.)
When the starter is ready, feed it one last time exactly as you have been doing: Measure out and save 115g; discard the rest; feed the reserved starter 115g flour and 115g tepid water. Mix well and let rest at room temperature until it’s very lively with bubbles popping on the surface, 4 to 8 hours.
Now, let the sourdough bread begin! Your starter is ready to be used in a recipe for sourdough bread. We’ve got a great No-Knead Sourdough Boule recipe for you in the works so stay-tuned for that on our website. But if there’s a different recipe you’ve been wanting to try, go for it!
Measure out the amount of starter you need for the recipe and set aside. Transfer up to 115g of the remaining starter to its crock (or your vessel of choice). Feed this reserved starter as usual: mixing in 115g flour and 115g tepid water. Let it rest at room temperature, uncovered, for several hours before covering. Make sure to put the cover on loosely. Store your starter in the refrigerator and feed regularly, once a week should be enough, following the same process as usual.
Tip: Every kitchen is different, so the amount of time a starter takes to be ready can vary wildly. Don’t despair if yours isn’t ready after five days. It could take two weeks! Rather than using days as your readiness guide, use your eyes. If you see your starter get very active after a feeding – if it bubbles and doubles in volume within four hours of a feed – trust that the starter is ready. Until it reaches this stage, continue the discarding and twice daily feedings.


Join the Discussion